Olly Mac Installation Guide
Step-by-step instructions for installing the Olly application on macOS to enable LinkedIn automation and other Olly features.

Introduction
This guide walks you through the process of installing the Olly application on macOS. Installing the full Olly app is required to use advanced features like Auto Commenter in the background while you browse the web.
Installation
Complete instructions for installing Olly on macOS.
Windows
Instructions for Windows users.
Support
Get assistance with installation issues.
Installing Olly on macOS
Step 1: Download the Application
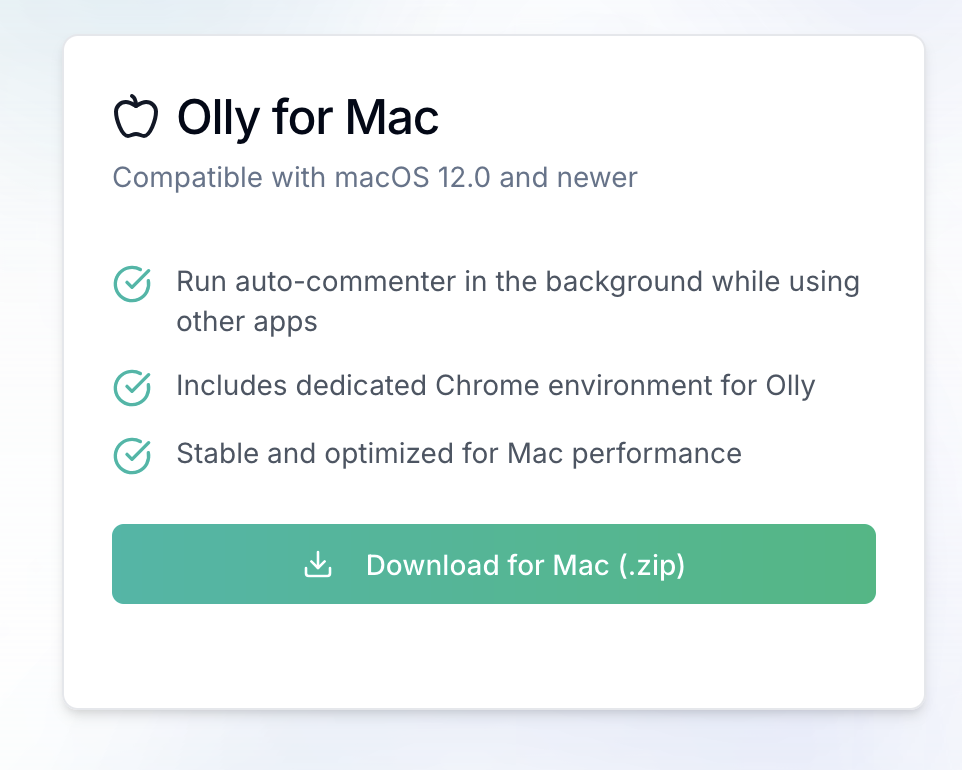
- Visit www.olly.social/downloads in your web browser
- Click the Download Now button in the green button
- You will see the download start (typically as a
output.zipfile of approximately 9.8 MB)
Step 2: Extract the Application
- Locate the downloaded
output.zipfile in your Downloads folder - Double-click to extract it or right-click and select "Extract"
- A folder named "output" will be created containing the Olly application (approximately 10 MB)

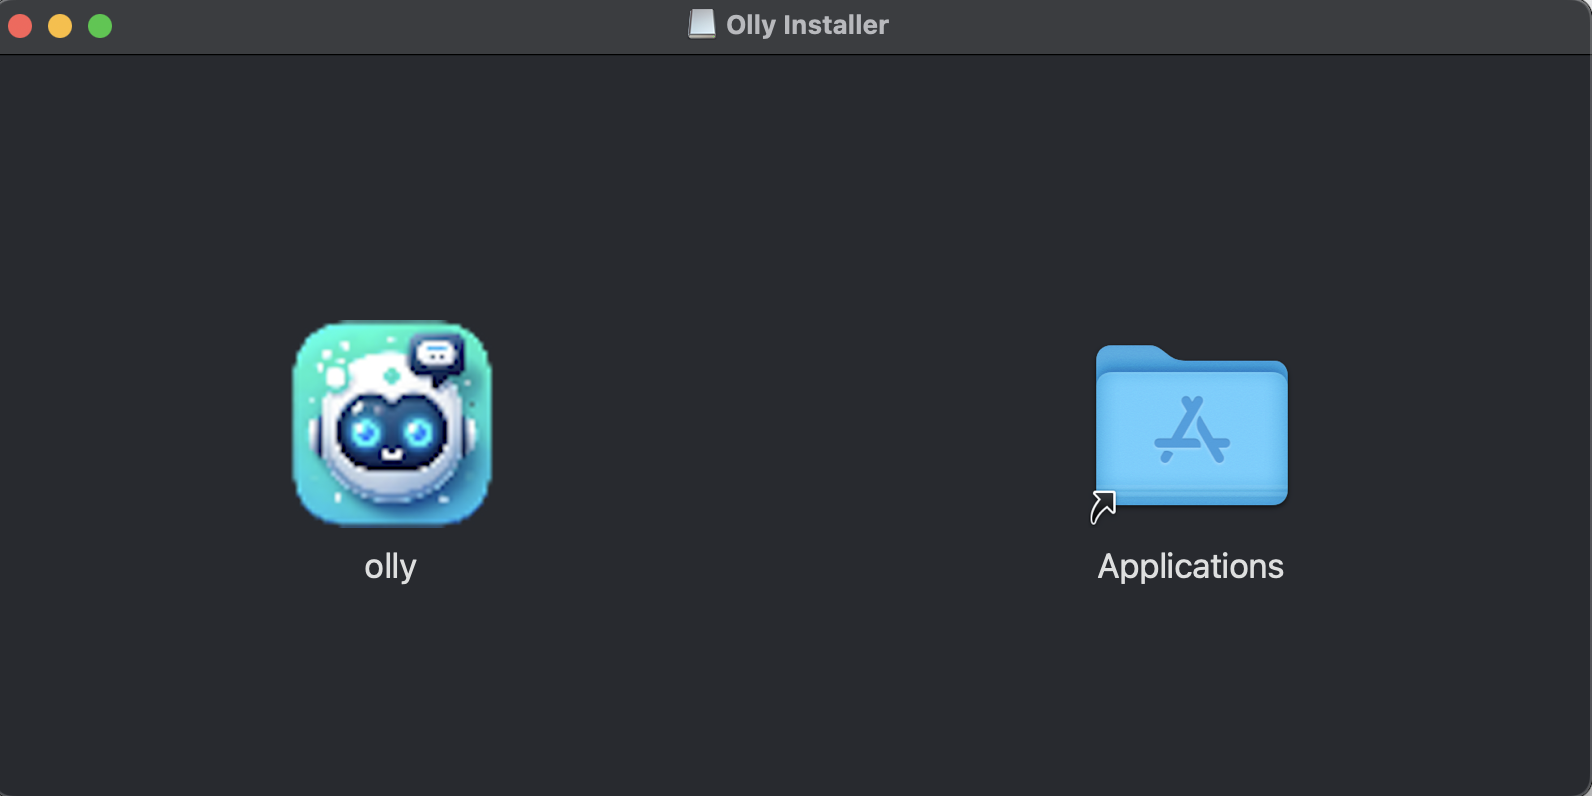
Step 3: Move to Applications Folder
- After extraction, an installer window will appear showing the Olly app icon on the left and the Applications folder icon on the right
- Drag the Olly app icon (teal square with robot icon) to the Applications folder icon (blue folder with the "A" symbol)
- This action installs Olly in your Applications folder, making it easier to find and launch
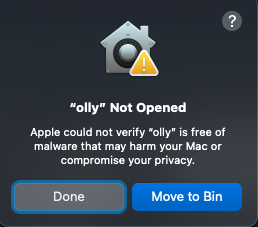
Step 4: Handle Security Warnings
When you try to open the application, macOS will display security warnings because the app isn't signed by an identified developer. Here's how to handle these warnings:
If you see "olly cannot be opened ..."
- Click "Cancel" on the initial warning
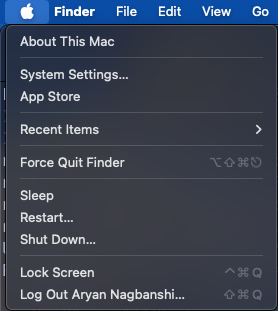
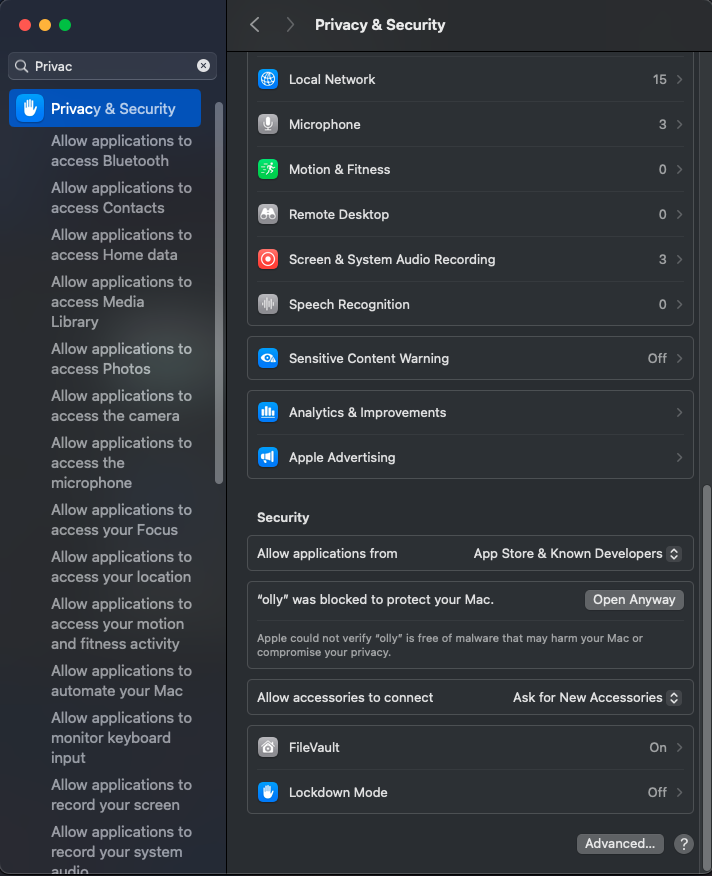
- Open System Settings and navigate to "Privacy & Security"
- Scroll down to the Security section where you'll see a message: "olly was blocked to protect your Mac"
- Click the "Open Anyway" button
If you see "Open olly?" warning
- A new dialog will appear asking "Open olly?"
- The warning will state: "Apple is not able to verify that it is free from malware that could harm your Mac or compromise your privacy"
- Click "Open Anyway" if you trust the source
Step 5: Grant Necessary Permissions
The app may request certain permissions to function properly:
- You may be asked to allow Olly to update or delete other applications
- Toggle the permission switch to ON for Olly
- If prompted that "olly will not be able to update or delete other applications until it is quit", you can click "Later" or "Quit & Reopen" as needed
Step 6: Launch Chrome with Olly
When you launch Olly, it will check if Chrome is running:
- If Chrome is already running, you'll see a prompt: "Chrome is currently running. Do you want to close it and launch with unthrottled parameters?"
- Click "Yes" to close Chrome and relaunch it with optimized settings for Olly extension
Step 7: Verifying Installation
- After clicking "Yes", Chrome should launch automatically with the unthrottled parameters
- You may see a notification in Chrome that "Olly was prevented from modifying your Mac" - this is normal
- Your Chrome should now be running with enhanced performance settings and the Olly extension installed
Next Steps
Now that you've successfully installed Olly on your Mac, you can proceed to set up and configure the Auto Commenter feature for LinkedIn automation. This will allow you to engage with LinkedIn content automatically while you browse the web.
→ Configure Olly Auto Commenter
Troubleshooting
If you encounter any issues during installation:
- Extraction problems: Try using a different extraction tool or download the file again
- Security warnings persisting: Ensure you're following all steps in the security section above
- Chrome not launching properly: Try manually closing all Chrome windows and then launching Olly again
- Permission issues: Make sure you're logged into your Mac with an administrator account
For additional support, please contact support at support@olly.social or visit our Help Center.